Wet Decal Installation
Step-by-step instructions for Wet Decal Installation
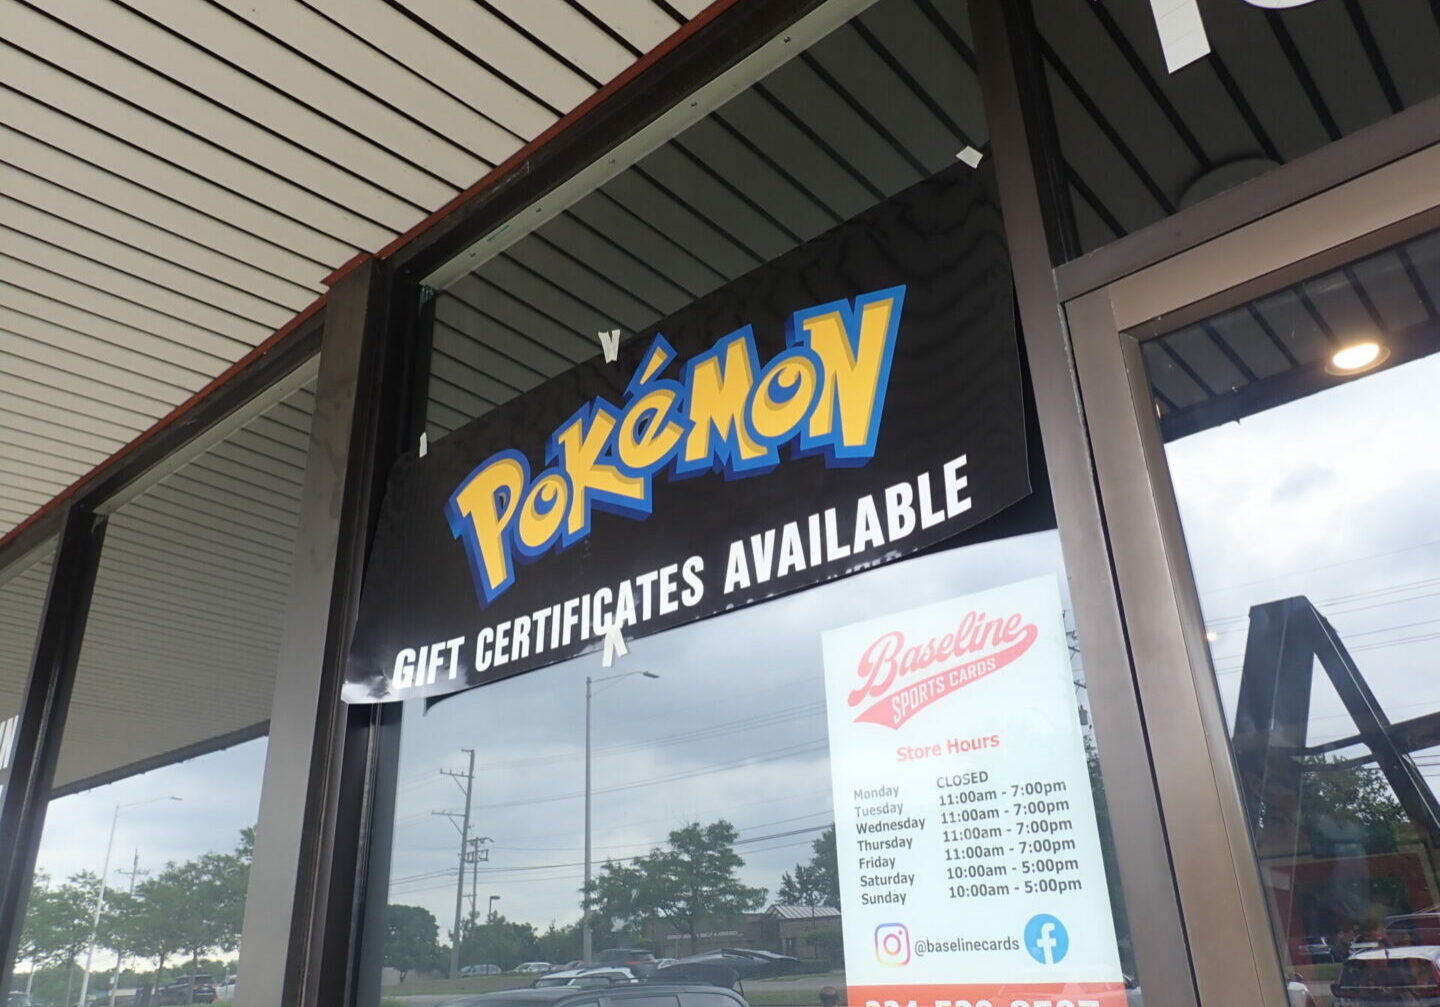
Step 1 : Position decal on clean working surface, make level and tack in place with masking tape. Create a center spot for masking tape, top and bottom, we will be doing a center hinge method on this install.
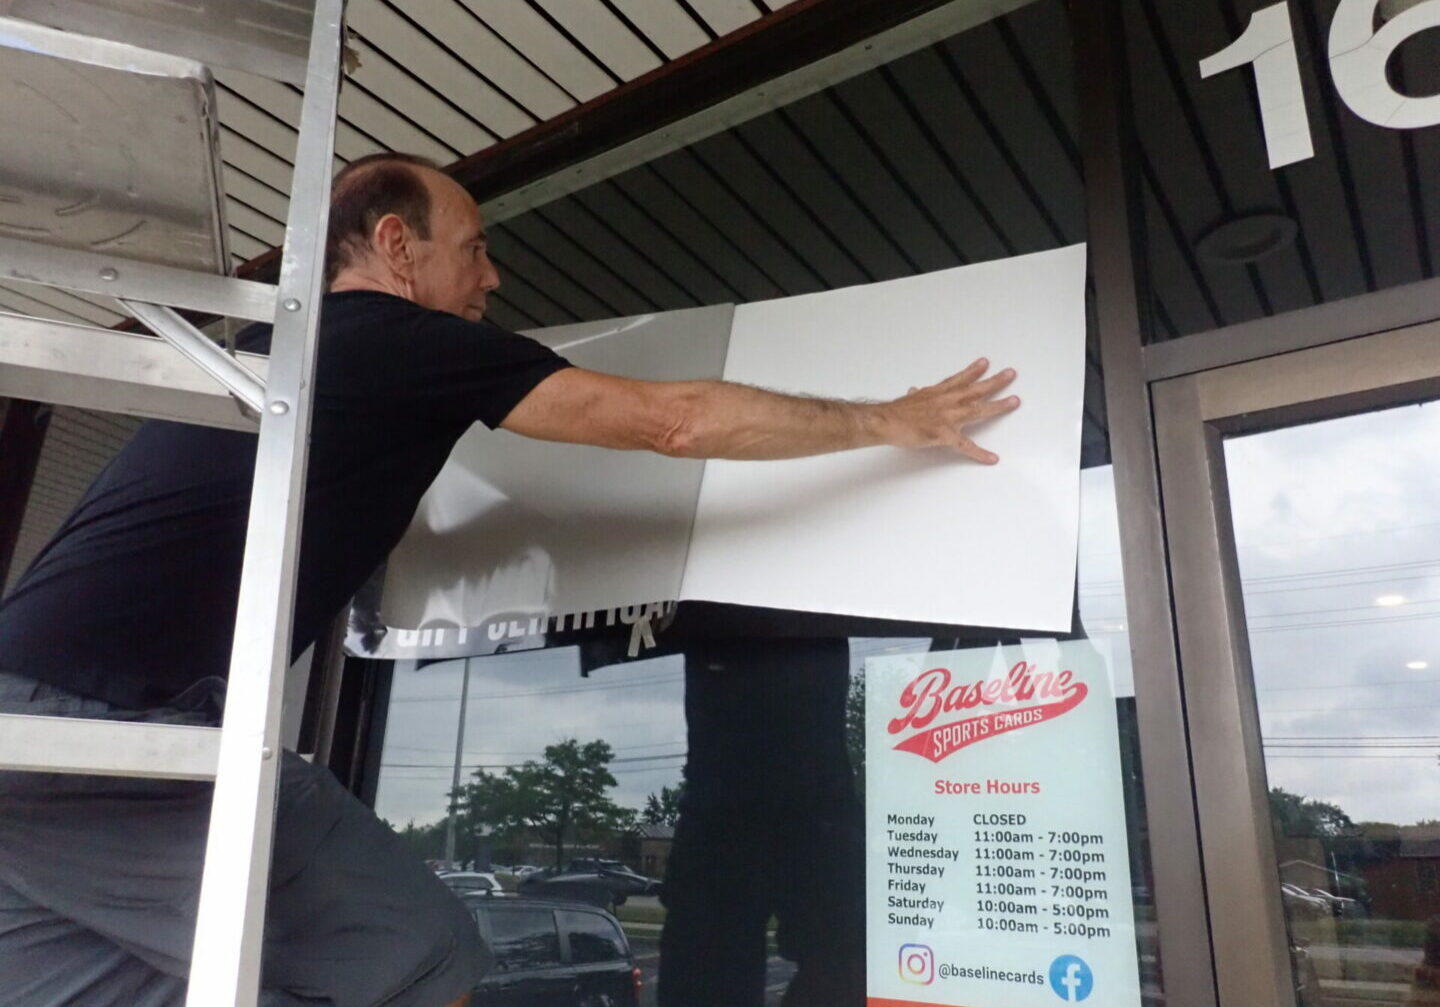
Step 2 : Peel back decal from backing liner gently. Cut backing liner off using scissors with a straight cut and discard.
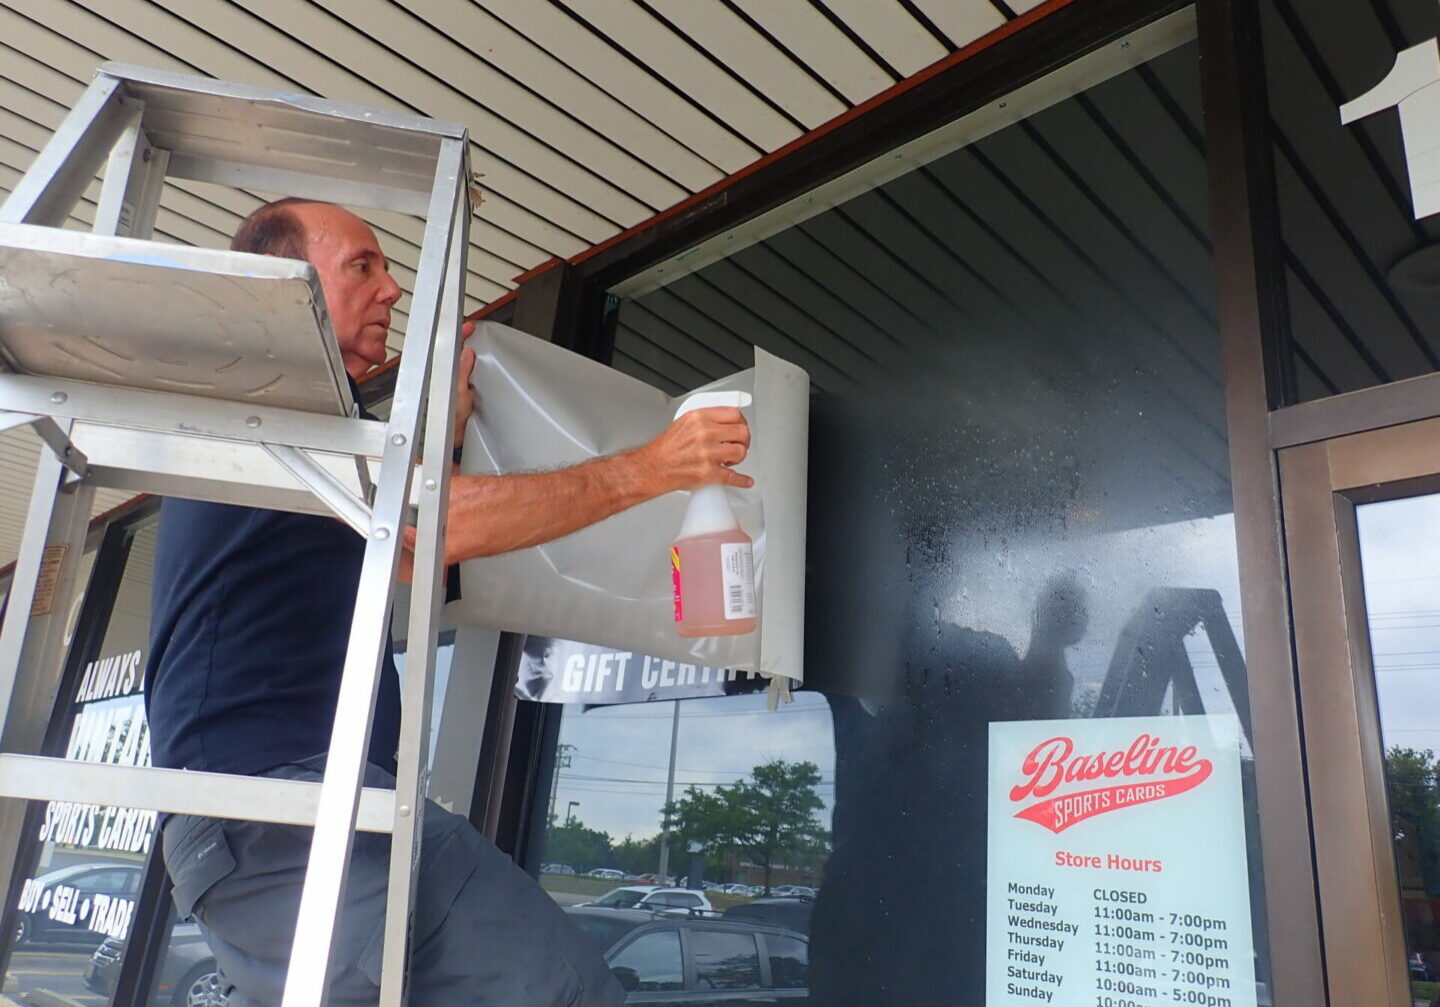
Step 3 : After removing backing liner, us a soapy water solution. ( a few drops of detergent soap in a squirt bottel with water ). Spray working surface and decal. Keep both sides wet, this will help the decal not stick to itself. Very important.
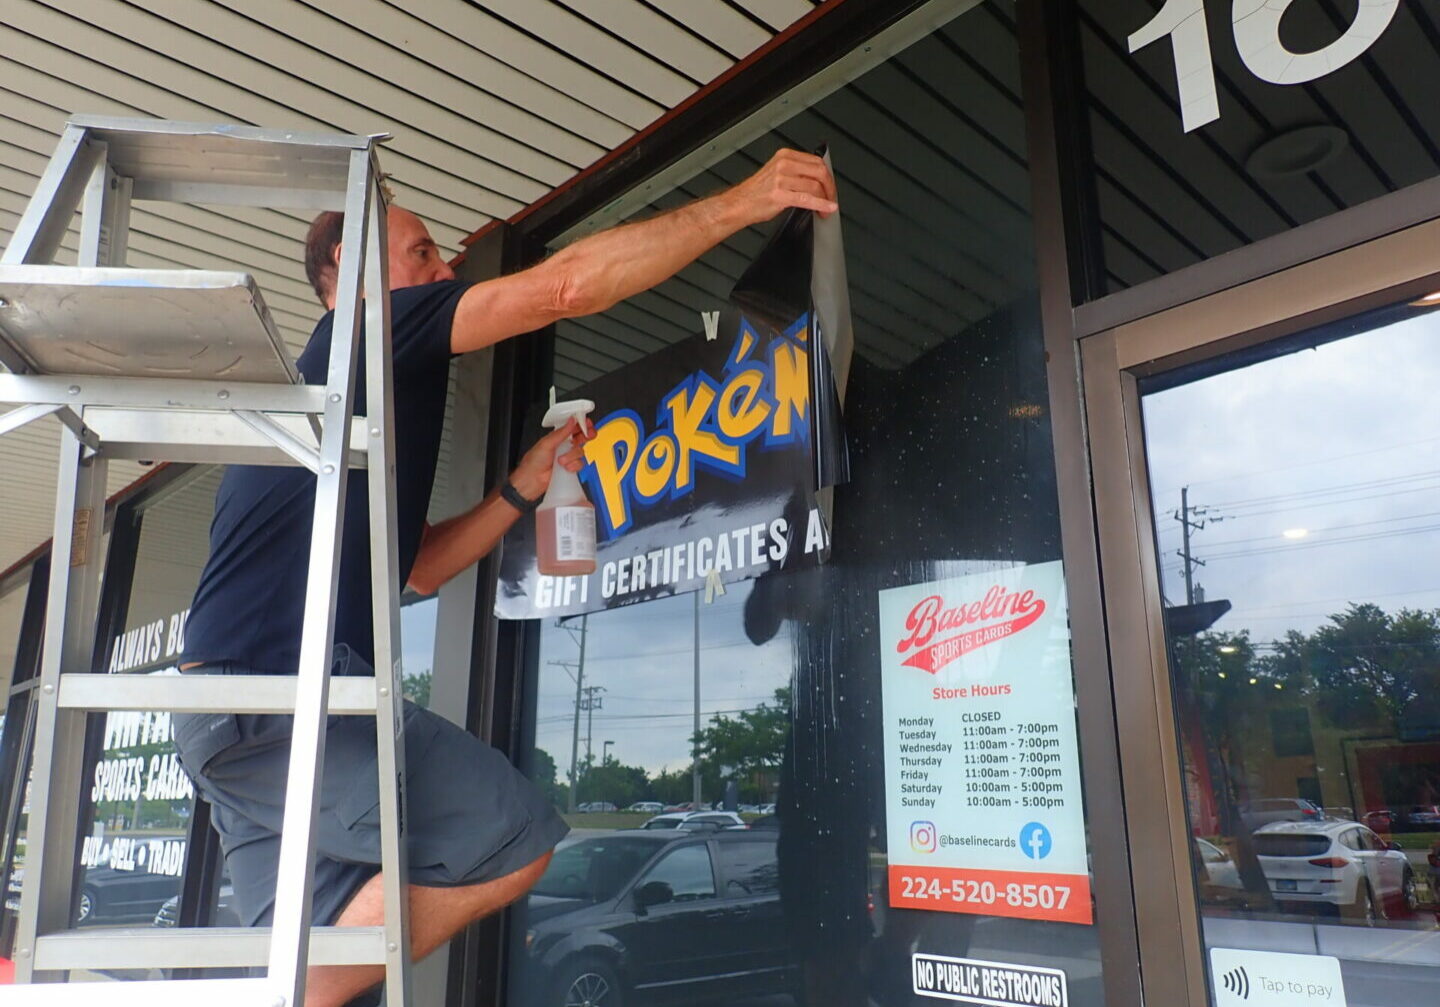
Step 4 : Use soapy water solution on the decal, front and back, keep wet. Decal can be easily lifted up and down while wet. Use applicator (squeegee, supplied with order) to press down decal from center out, removing all of the water. This will let the decal grab the working surface and stick. Make sure you press out any air bubbles and water, keep front of decal wet to assist with application.
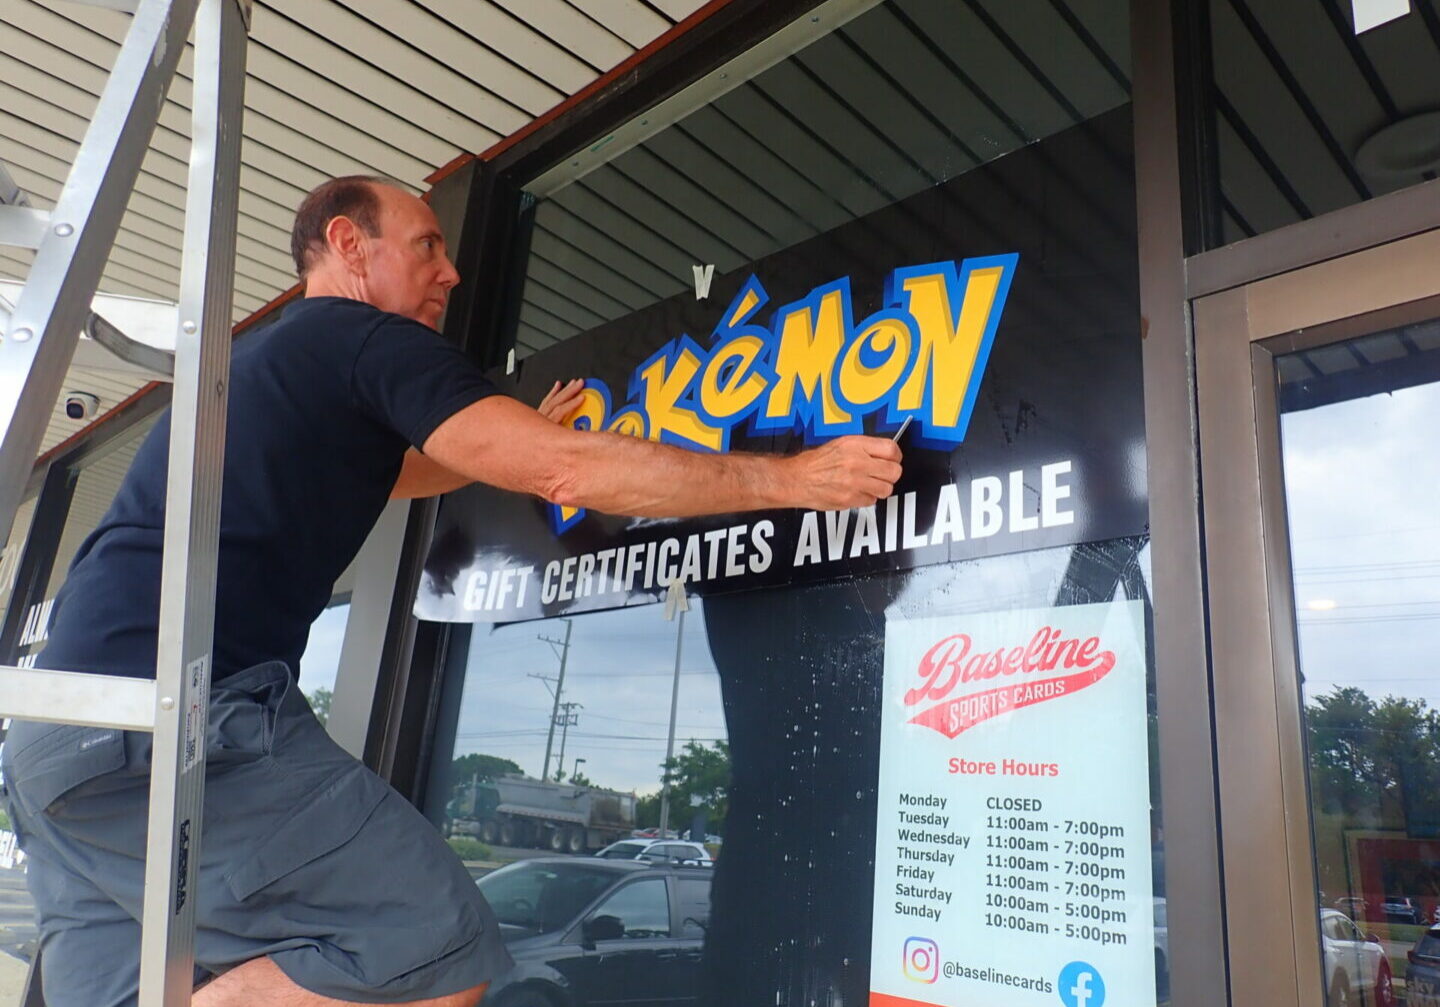
Step 5 : Press down firmly to complete installation of the one side.
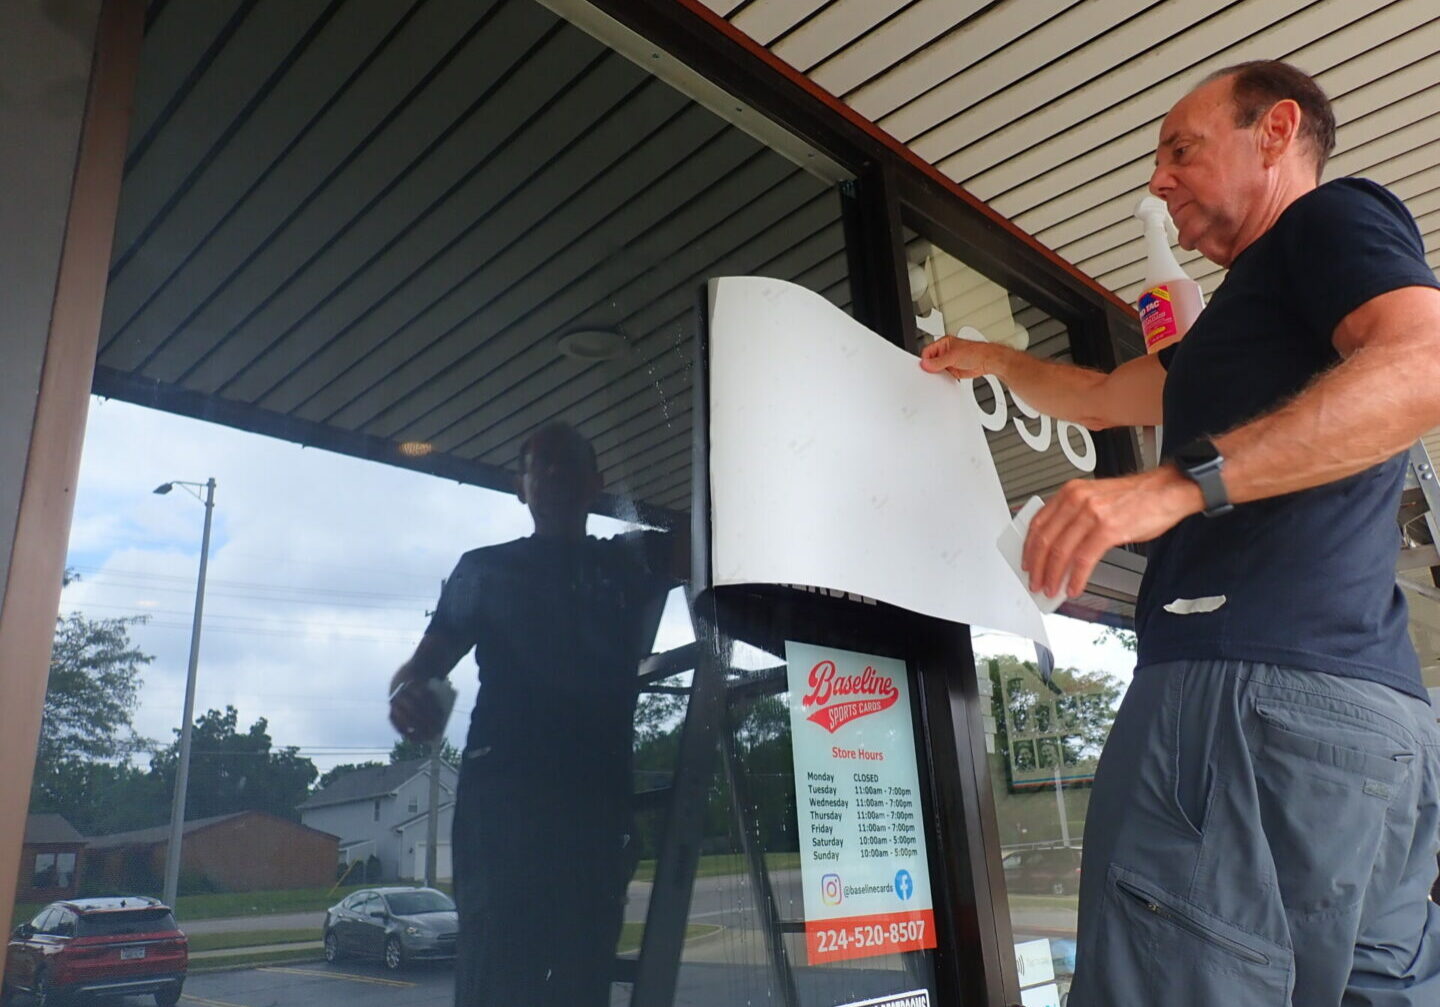
Step 6 : Remove masking tape from the rest of the decal, and gently peel off the last of the backing liner, be careful.
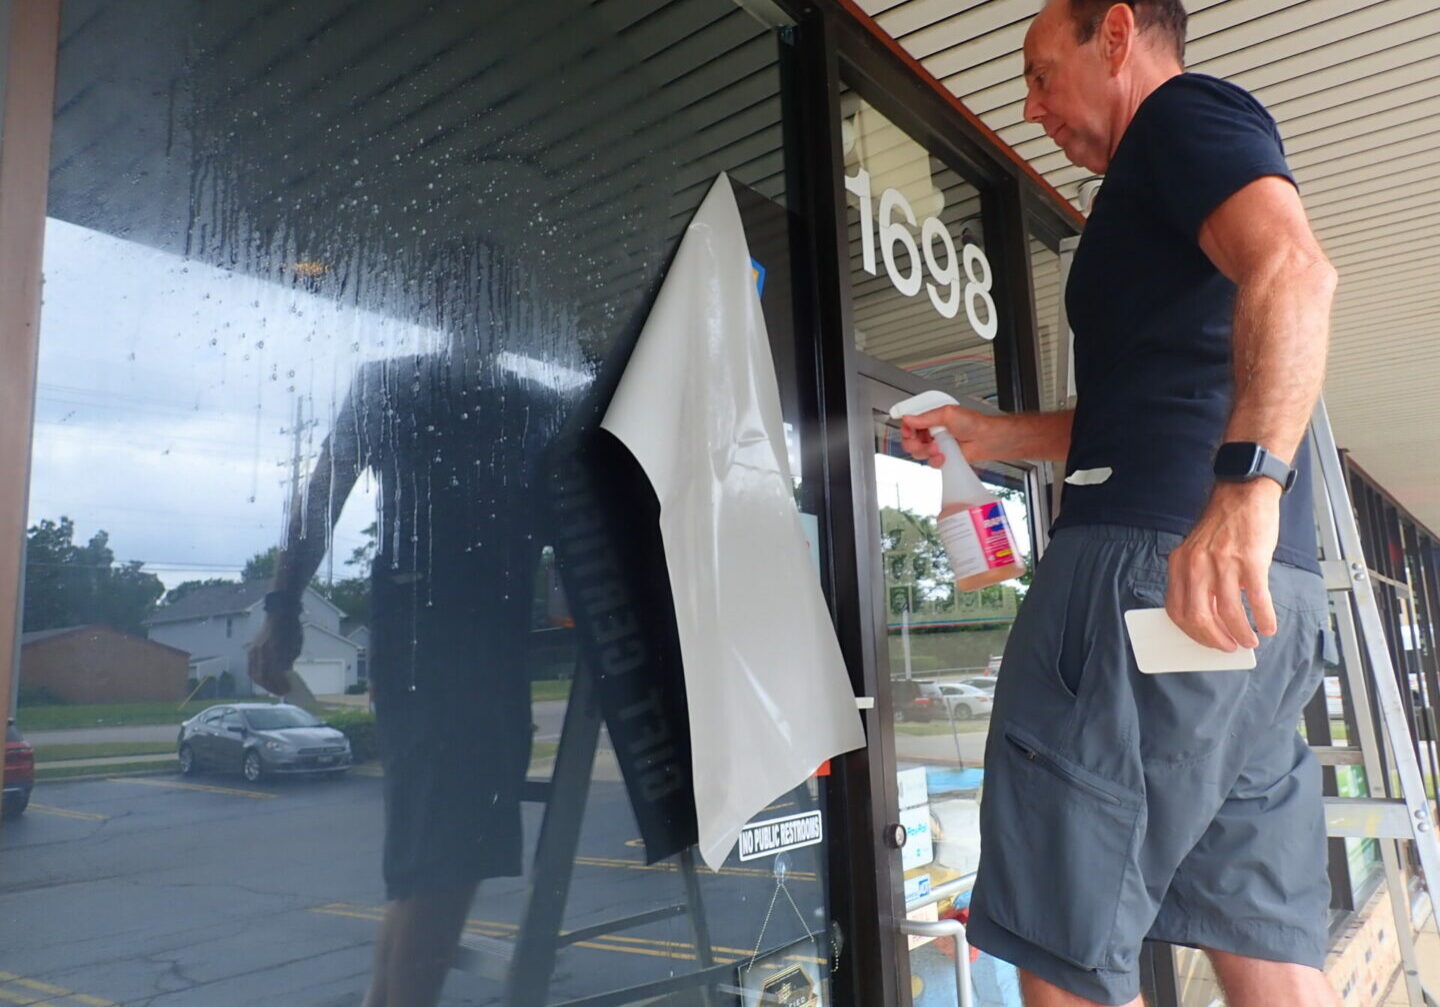
Step 7 : Spray decal and working surface with soapy water. Keep wet.
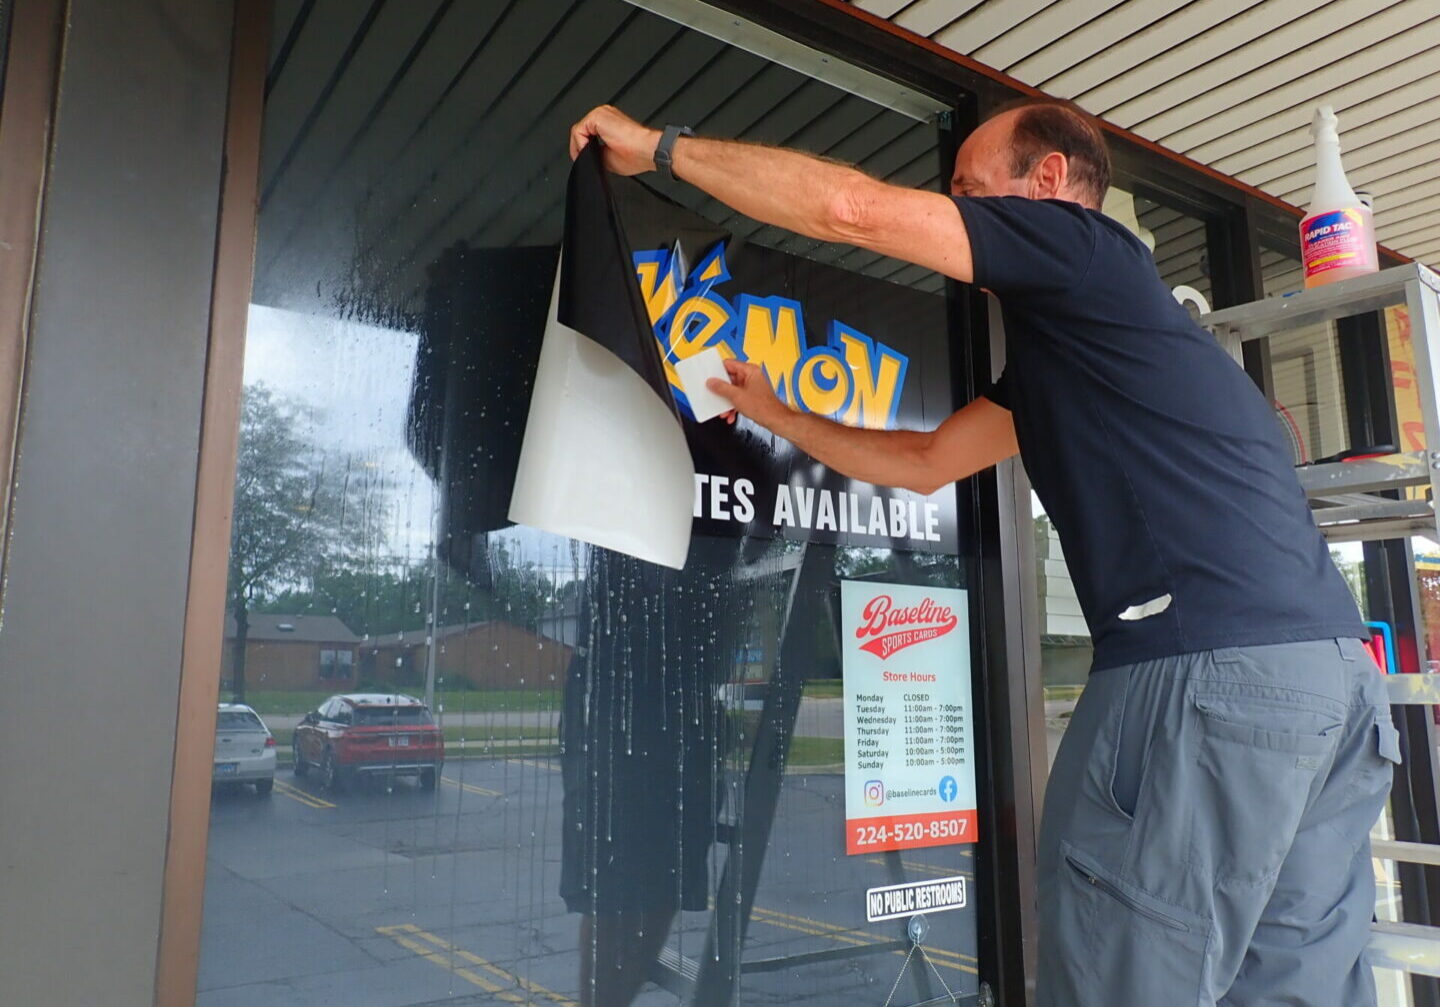
Step 8 : Begin to install the decal. Repeating step 4 and 5. Squeegee out remaining water from the center out until all water is out from behind graphic, keep back wet while doing so.

Step 9 : Finished.
